You can grind bones without a grinder by freezing, drying, roasting, and pounding them into powder.
I’ve spent years processing kitchen scraps and making bone meal for pets and plants. This guide explains practical, safe steps for how to grind bones without a grinder, with clear methods for small poultry bones up to large marrow bones. I draw on hands‑on experience, safety best practices, and simple tools you likely already have. Read on to learn step‑by‑step techniques, what to avoid, how to use the result, and tips that save time and effort.

Why grind bones at home?
Grinding bones at home turns waste into value. Ground bones serve as pet supplements, garden fertilizer, and cooking ingredients like bone meal. Knowing how to grind bones without a grinder helps when you lack specialized equipment or want a low‑cost option.
Benefits include:
- Reducing kitchen waste into usable material.
- Making phosphorus and calcium available for soil or animal diets.
- Avoiding store‑bought bone meal that may be processed or treated.
I’ll show simple, safe ways to grind bones without a grinder and explain which method fits which kind of bone. This saves money and gives you control over quality.
Safety and what bones to avoid
Safety matters. Bones can splinter and cause injury. Some bones are unsafe for pets or food use if not handled properly.
Key safety rules:
- Avoid very thin, brittle bones for pets because they can splinter.
- Clean bones thoroughly to remove meat and fat before processing.
- Wear gloves and eye protection when pounding or cutting.
- Use a stable surface and secure the bone to prevent slips.
Bones to avoid:
- Cooked poultry bones for feeding pets (they splinter easily).
- Bones with mold or bad odor—discard if rotten.
- Very large weight‑bearing bones for small tools; these may be too hard to process by hand.
Following these rules makes how to grind bones without a grinder safe and effective.

Practical methods to grind bones without a grinder
Below are step‑by‑step methods. Choose the one that matches your tools and bone size.
Method 1: Freeze and hammer (best for brittle bones)
- Clean and dry the bones fully.
- Freeze bones for several hours until hard and brittle.
- Place bone on a solid cutting board. Cover with a towel to contain shards.
- Use a mallet, heavy hammer, or rolling pin to break the bone into smaller pieces.
- Sift the pieces and repeat pounding until you reach desired fineness.
Method 2: Roast or bake then crush (good for removing fat and odor)
- Roast bones at 375°F for 20–40 minutes until dry and slightly browned.
- Let cool. Use a heavy pan, mortar and pestle, or hammer to crush.
- Dry roasting reduces smell and makes bones easier to break.
Method 3: Mortar and pestle (best for small bones and fine control)
- Use for small fish, chicken, or rabbit bones.
- Break into small chips first with a hammer.
- Grind in the mortar in short bursts. Sift and repeat.
Method 4: Use a heavy cleaver on a wood block (efficient for raw bones)
- Place bone on a thick wooden block.
- Use controlled cleaver strikes to chop into small bits.
- Finish by pounding or pressing through a metal sieve.
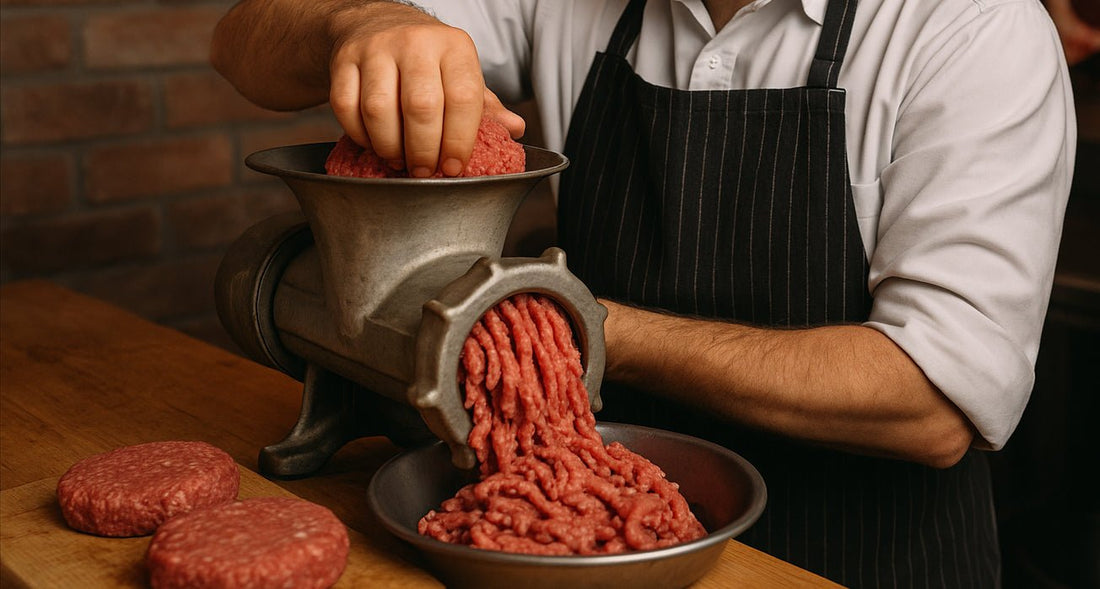
Method 5: Food processor or blender (if you must use a kitchen appliance)
- Use this only for small, dry bone pieces. Do not use if wet or fatty.
- Pulse in short bursts and avoid overheating the motor.
- Clean the appliance thoroughly after use.
Each method helps you learn how to grind bones without a grinder using common tools. Choose drying + pounding for the cheapest route.
Preparing bones: cleaning, drying, and sizing
Good prep makes grinding easier and safer. Spend time on cleaning and drying.
Steps to prepare bones:
- Remove meat, tendons, and blood. Boil briefly if needed to strip flesh.
- Degrease by simmering and skimming fat or by chilling and removing congealed fat.
- Dry bones in an oven at low heat or air‑dry in a warm, dry place. Dry bones are easier to crush.
- Break larger bones into manageable pieces before pounding.
Sizing guidance:
- Poultry and small bones: aim for chips under 1 inch before grinding.
- Beef and pork bones: split or saw to reduce thickness.
- Fish bones: clean and dry thoroughly; they grind easily.
Proper prep speeds up how to grind bones without a grinder and improves final powder quality.
Uses, benefits, and limitations of ground bones
Ground bones have many uses but also limits you should know.
Common uses:
- Bone meal for garden fertilizer rich in phosphorus and calcium.
- Pet supplements after grinding to a safe consistency (consult a vet).
- Thickening agents or flavor in some culinary uses when managed safely.
Benefits:
- Nutrient recycling and cost savings.
- Control over how natural and fresh your bone meal is.
Limitations:
- Home‑ground bone meal may be coarser than commercial products.
- Risk of contamination or improper nutrition for animals if not processed or measured correctly.
- Some uses require sterilization or further processing.
Use ground bones wisely and always confirm safe feeding rates for pets. This helps when learning how to grind bones without a grinder in a responsible way.

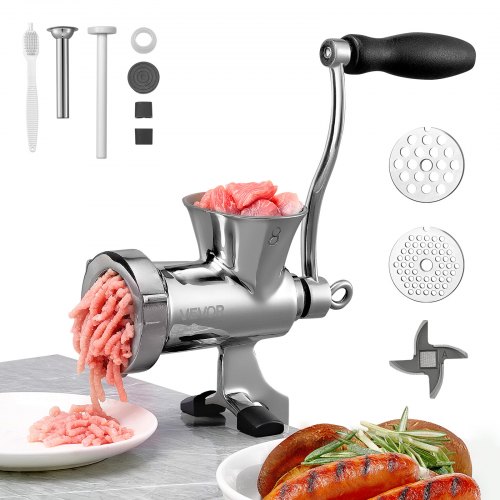
Tools and equipment checklist
A simple set of items makes the task easy and safer.
Essentials:
- Heavy hammer or mallet
- Sturdy cutting board or block of wood
- Mortar and pestle for small bones
- Tongs and sturdy gloves
- Oven or dehydrator for drying
- Stainless steel sieve or screen for sifting
Optional:
- Handsaw or reciprocating saw for thick bones
- Food processor for small dry bone pieces (use cautiously)
With this list you’ll be ready to grind bones without a grinder and get consistent results.

Troubleshooting and tips from real experience
I’ve ground bones many times. Here are lessons I learned.
Common problems and fixes:
- Bones not breaking: dry them longer or freeze before pounding.
- Too many sharp shards: cover the bone and pound gently, then sift out the fine powder you need.
- Smell or rancid fat: roast or simmer bones and remove fat before drying.
Practical tips:
- Work outside or in a well‑ventilated space when hammering to reduce dust and smell.
- Use a towel or cloth to keep shards contained and protect surfaces.
- For pet use, aim for a consistent particle size and consult a vet about suitability.
A mistake I made early on was skipping the drying step; bones were tough and the hammering took much longer. Drying first saved hours. These real tips make how to grind bones without a grinder efficient and safer.

Frequently Asked Questions of How to Grind Bones Without a Grinder
Is it safe to feed homemade ground bones to pets?
You can feed carefully prepared bone meal to pets, but check with your veterinarian first. Ensure the grind is not sharp and that the nutrient balance fits your pet’s diet.
Can I grind wet or cooked bones?
Avoid grinding wet or recently cooked bones because they can be rubbery or splinter. Dry, roasted, or frozen bones crush much more cleanly.
What is the best method for large beef bones?
Split or saw large bones, then roast or freeze them, and finish by hammering into smaller pieces. This sequence reduces effort and risk of tool damage.
How fine should bone meal be for garden use?
For garden fertilizer, a coarse to medium grind works fine. Finer powder releases nutrients faster, but both sizes are useful in soil buildup.
Will grinding bones at home smell bad?
Some odor can occur, especially if fat and marrow are present. Roasting, thorough drying, and working outdoors reduce smells significantly.
Conclusion
Grinding bones without a grinder is practical, low‑cost, and rewarding when done safely. Choose the method that fits the bone size and your tools: freeze and hammer for brittle bones, roast then crush for reduced odor, or use a mortar for small pieces. Prepare bones well by cleaning and drying, wear protection, and consult experts if you plan to feed ground bones to pets. Try one simple batch this weekend to recycle kitchen waste into useful bone meal, and share your results or questions below — subscribe for more hands‑on guides and tips.


