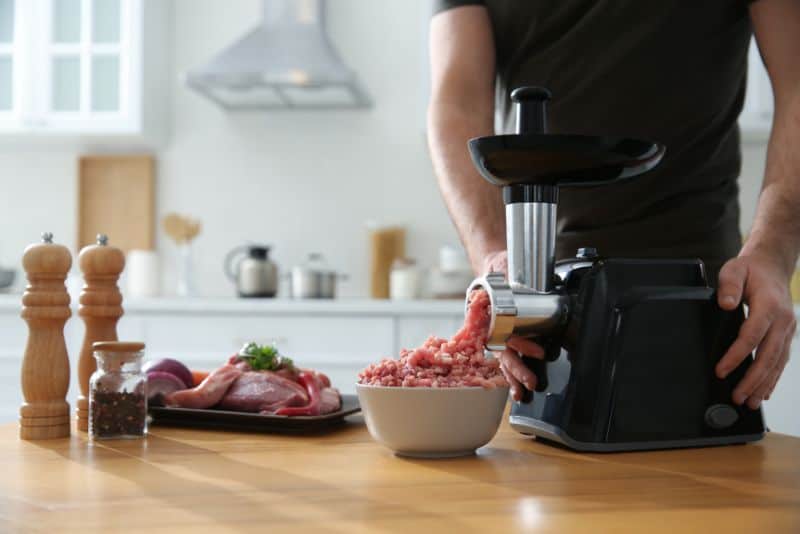
Using a meat grinder at home opens a world of fresh, flavorful possibilities. Whether you love making your own burgers, sausages, or experimenting with creative recipes, knowing how to use a meat grinder safely and efficiently is a skill worth mastering.
Many people find the process intimidating at first, but with the right guidance, anyone can become confident in grinding meat. This guide will walk you through everything you need to know, from choosing the right grinder and prepping your meat, to cleaning up and troubleshooting common problems.
You’ll also discover tips that even experienced home cooks sometimes overlook.
Understanding Meat Grinders
Before you start grinding, it’s important to understand what a meat grinder does and how the parts work together. There are two main types: manual meat grinders and electric meat grinders.
Manual grinders are operated by hand, usually with a crank. They’re compact, affordable, and ideal for small batches. Electric grinders, on the other hand, use a motor to turn the grinding mechanism, making them faster and better for larger quantities or tougher meats.
At the core, every grinder has similar parts:
- Hopper: Where you place the meat.
- Feed tube: Guides the meat to the auger.
- Auger (or screw): Moves meat toward the blades.
- Blade (knife): Cuts the meat.
- Grinding plate: Decides the final texture (fine, medium, coarse).
- Tray: Catches the ground meat.
Understanding these basics makes the rest of the process much clearer.
Choosing The Right Meat Grinder For Your Needs
Picking the right grinder is more than just price or brand. Think about your cooking habits and kitchen space.
Manual Vs. Electric
| Feature | Manual Grinder | Electric Grinder |
|---|---|---|
| Power Source | Hand crank | Electric motor |
| Speed | Slow | Fast |
| Batch Size | Small | Medium to large |
| Portability | High | Lower |
| Maintenance | Simple | Moderate |
| Noise | Quiet | Loud |
For occasional use or small kitchens, a manual grinder may be best. If you plan to grind large amounts, or want less effort, an electric grinder is a smart investment.
Key Features To Consider
- Grinding plates: Multiple sizes allow you to choose the texture.
- Motor power: For electric models, look for 350 watts or higher for tougher jobs.
- Attachment options: Some grinders come with sausage stuffers or pasta makers.
- Ease of cleaning: Removable parts make maintenance simple.
Mistakes To Avoid
Beginners often buy grinders that are too small or underpowered for their needs. Also, don’t overlook the importance of spare parts—blades and plates will wear out with heavy use.

Preparing Meat For Grinding
Success with a meat grinder starts before you even turn the handle or switch. Proper preparation ensures clean cuts and avoids damaging your equipment.
Selecting The Right Meat
Choose fresh, high-quality cuts. Beef chuck, pork shoulder, or chicken thighs are popular choices. Meat should have at least 20% fat for juicier results, especially for burgers and sausages.
Trimming And Cutting
Remove excess sinew, gristle, and silver skin. These tough parts can clog your grinder. Cut meat into 1-inch cubes for easier feeding.
Chilling The Meat
One step many home cooks skip is chilling the meat and even the grinder parts. Cold meat grinds cleaner and safer. Place cubes in the freezer for 20-30 minutes until firm but not frozen solid. Also, chill the feed tube and plate if possible.
Why Chilling Matters
Warm meat smears, clogs, and can harbor bacteria. Cold, firm meat cuts cleanly and keeps the fat from melting during grinding.
Assembling And Setting Up Your Meat Grinder
Proper setup is key to both safety and performance.
- Read the manual: Different brands may have unique assembly steps.
- Attach the grinder securely: Manual grinders often clamp to a table. Electric grinders should be on a stable, dry surface.
- Insert the auger, blade, and plate: Make sure the blade faces the plate, not backward—a common mistake.
- Tighten all parts: Loose pieces can cause poor grinding or even damage the machine.
- Place the meat tray and a bowl under the grinder’s exit.
Safety Reminders
Never use fingers or utensils to push meat into the grinder. Use the provided stomper or pusher.
Grinding Meat: Step-by-step Process
You’re now ready to start grinding. Here’s how to do it safely and efficiently.
Loading The Meat
- Work in small batches. Overloading leads to jams and uneven grinding.
- Feed the meat steadily but gently. For electric grinders, let the machine do the work.
First Grind
- For most recipes, start with a coarse plate. This gives structure and helps fat and lean blend evenly.
Second Grind (if Needed)
- For sausages or very fine textures, run the meat through a smaller plate for a second grind.
Mixing And Seasoning
- If making sausages or meatloaf, add spices and mix after the first grind, then grind again for even distribution.
Handling Fat
Fat is softer and can melt quickly. If you notice smearing or the grinder getting warm, stop and chill the meat again.
Cleaning As You Go
Sometimes sinew or gristle will block the plate holes. Pause to clean the plate and blade if the machine struggles.
Comparing Ground Meat Textures
The grinding plate size controls the final texture of your ground meat. Here’s a comparison to help you choose:
| Plate Size | Texture | Best For |
|---|---|---|
| Coarse (8-10 mm) | Chunky, loose | Chili, coarse sausages |
| Medium (4-6 mm) | Classic ground meat | Burgers, meatballs |
| Fine (2-3 mm) | Very smooth | Pâtés, hot dogs |
Most home cooks use the medium plate for general recipes.
Cleaning And Maintaining Your Meat Grinder
Proper cleaning is essential for safety and long life of your grinder. Meat residue can spoil quickly and spread bacteria.
Cleaning Steps
- Unplug or disassemble: Always start with the machine off.
- Remove all parts: Take apart the hopper, feed tube, auger, blade, and plate.
- Soak in warm, soapy water: Let parts sit for 10–15 minutes.
- Scrub with a brush: A bottle brush works well for holes and tight spaces.
- Rinse and dry thoroughly: Water can cause rust, especially on steel parts.
- Wipe the main body: For electric grinders, never submerge the motor.
Oiling And Storage
Oil the blade and plate lightly with food-safe mineral oil to prevent rust. Store in a dry place. For long-term storage, keep parts in a bag with a little dry rice to absorb moisture.
Common Mistakes
Never put grinder parts in the dishwasher unless the manual says it’s safe. Dishwashers can dull blades and cause corrosion.
Practical Tips For Better Results
Even experienced cooks miss small details that make a big difference. Here are two non-obvious tips:
- Alternate Fat and Lean: When loading meat, alternate cubes of fat and lean. This helps blend fat evenly through the grind.
- Grind Bread Last: After finishing, run a slice of dry bread through the grinder. It pushes out meat residue and makes cleaning easier.
Other practical tips:
- Keep a second plate and blade as spares—dull parts lead to smeared meat.
- Don’t force tough gristle through; remove it for smoother grinding.
Using Your Ground Meat: Recipe Ideas
Grinding your own meat unlocks flavor and texture you can’t get from store-bought packs.
Homemade Burgers
Fresh ground beef, a pinch of salt, and a quick sear create a burger that’s juicy and full of flavor. Use a mix of chuck and brisket for a perfect fat balance.
Sausages
Mix pork shoulder with seasonings, grind once or twice, and stuff into casings. Try classic Italian or breakfast sausage blends.
Meatballs And Meatloaf
Custom-blend beef, pork, or even turkey for tender, flavorful results. Grinding at home lets you control the fat and seasoning.
Global Dishes
Grind lamb for kebabs, chicken for gyoza, or fish for croquettes. The possibilities are endless.
Troubleshooting Common Meat Grinder Problems
Even well-maintained grinders can run into trouble. Here’s how to solve the most frequent issues.
Grinder Clogs Or Jams
- Often caused by sinew or too much fat.
- Solution: Stop, disassemble, and clean the blade and plate. Trim sinew better next time.
Smearing Or Mushy Meat
- Usually from warm meat or dull blades.
- Solution: Chill both meat and grinder parts before starting. Sharpen or replace the blade.
Uneven Grinding
- Caused by overloading or not alternating fat and lean.
- Solution: Feed slowly and mix meat before grinding.
Grinder Won’t Start (electric Models)
- Check power, safety switches, or overload protection.
- Motor may be overheated—let it cool before restarting.
Grinder Makes Unusual Noises
- Could be foreign objects or loose parts.
- Solution: Disassemble and inspect carefully.
Comparing Store-bought Vs. Home-ground Meat
Grinding your own meat offers several advantages over pre-packaged options.
| Aspect | Store-Bought Ground Meat | Home-Ground Meat |
|---|---|---|
| Freshness | Varies, can be days old | As fresh as you want |
| Texture | Uniform, sometimes mushy | Customizable, more control |
| Fat Content | Often unknown | Controlled by you |
| Flavor | Standardized, sometimes bland | Richer, more complex |
| Additives | Possible fillers, preservatives | None (unless added) |
| Food Safety | Higher risk, more handling | Safer if handled properly |
Advanced Uses: Beyond Meat
A grinder is more versatile than many realize. Try these ideas:
- Homemade pet food: Grind chicken, organs, and veggies.
- Nut butters: Some grinders can handle peanuts or almonds.
- Stuffing vegetables: Create fine stuffing for peppers or grape leaves.
- Making falafel: Grind soaked chickpeas for a better texture than food processors provide.
Just be sure to clean thoroughly between different uses to avoid flavor transfer.

Safety Precautions And Food Hygiene
Grinding meat at home is safe if you follow basic hygiene rules.
- Wash hands and surfaces before and after handling raw meat.
- Keep meat cold at all stages—bacteria multiply quickly at room temperature.
- Grind only what you’ll use immediately, or freeze ground meat within an hour.
- Disassemble and clean the grinder right after use—don’t wait.
According to the USDA, ground meat should be cooked to at least 160°F (71°C) to ensure safety. Use a meat thermometer if in doubt.
Storing Ground Meat
Proper storage keeps your efforts from going to waste.
- Refrigerate: Use ground meat within 1-2 days.
- Freeze: Portion ground meat in freezer bags. Flatten for quick thawing.
- Label and date: Always mark the package to avoid confusion later.
For best quality, use frozen ground meat within 3-4 months.
Frequently Asked Questions
How Do I Keep My Meat Grinder From Clogging?
Trim away sinew and gristle before grinding. Chill the meat and grinder parts, and never overload the hopper. If clogs happen, stop and clean the blade and plate before continuing.
Can I Grind Cooked Meat In My Grinder?
Yes, but it works best with firm, not overly moist, cooked meats. Grind cooked meats for spreads or fillings, but clean the grinder thoroughly afterward as cooked fat can stick.
What’s The Best Cut Of Meat To Grind For Burgers?
Chuck roast is a favorite due to its balance of fat and flavor. Many people mix in brisket or short rib for even richer taste.
How Do I Sharpen The Grinder Blade?
You can sharpen the blade by running it against a piece of fine sandpaper or a sharpening stone. Replace the blade if it’s deeply nicked or still struggles after sharpening.
Is It Safe To Grind Meat At Home?
Yes, if you follow proper food safety rules: keep everything cold, clean the grinder after each use, and cook ground meat thoroughly. For more details, see the USDA food safety guide.
Grinding your own meat is easier and more rewarding than most people realize. With a bit of practice and attention to detail, you’ll enjoy fresher, tastier meals and gain a skill that makes your kitchen truly your own.


